
How to wash dishes by hand without extra work
A practical hand-dishwashing routine: wash lightly soiled items first, rinse with clean water, and air-dry or use a clean towel.
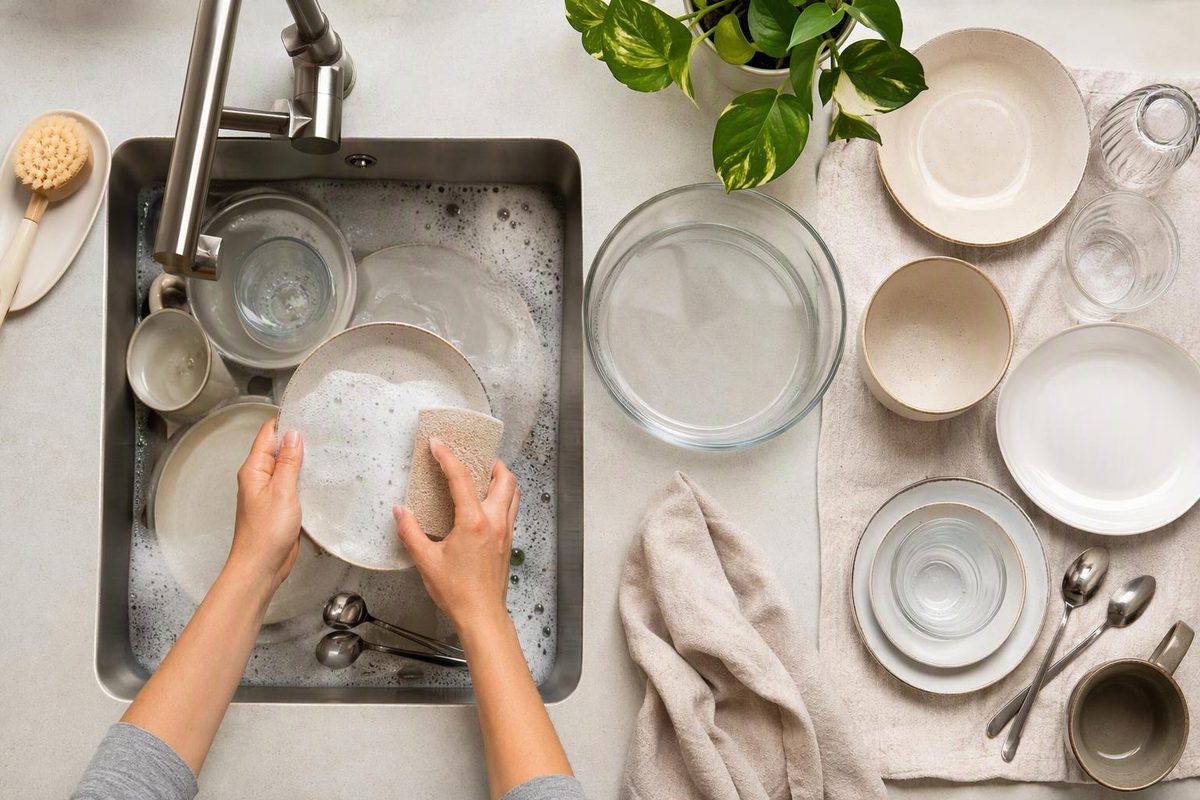
By Cleaning Notes
For an ordinary load of dishes, scrape first, wash the least dirty items before greasy cookware, rinse with clean water, then dry. The American Cleaning Institute’s hand-dishwashing guide recommends this sequence. Set stubborn pans aside to soak while you work through the easier dishes.
1. Scrape and set up
Scrape leftover food into the appropriate waste container rather than washing it down the drain. Keep grease out of the drain, too.
Gather hand-dishwashing detergent, a clean dishcloth or suitable scrubber, and a drying rack or clean towel. Check the cookware’s care instructions before soaking or choosing an abrasive scrubber; some items should not be submerged.
For stuck-on food, the Cleaning Institute recommends soaking for 15–30 minutes in hot water with hand-dishwashing detergent, if the item’s care instructions allow it. Drain that dirty soaking water before washing.
2. Make a wash bath
Fill a sink or dishpan with clean, hot water that you can handle comfortably. Add detergent in the amount directed on its label—concentrated products may need less than you expect.
Put in only a few dishes at a time so there is room to scrub and inspect them. Replace the wash water when it becomes greasy, cloudy or too cool, or when the suds disappear. More foam does not necessarily mean more cleaning; the Cleaning Institute advises changing dirty water rather than simply relying on suds.
3. Wash from lightly soiled to greasy
Use this order as a starting point, adjusting it to how dirty the items actually are:
- Glasses and cups
- Flatware
- Plates, bowls and serving dishes
- Pots, pans and greasy cookware
Scrub under the wash water, then lift each item out to check for missed food. Wash both sides of plates and the bottoms of pans—not just the surfaces that held food.
Keep sharp knives out of a piled-up sink. Wash them individually and place them flat in a safe drying area or handle-up in a suitable rack, as the Cleaning Institute advises.
For storage containers with rubber seals, pay attention to lid grooves and the area around the seal. NSF’s cleaning guidance specifically identifies these areas as needing thorough washing and rinsing.
4. Rinse with clean water
Remove all suds and loosened residue, including inside cups and bowls. Use clean hot water—not the wash bath.
- One sink: Use a dishpan for washing and rinse each item under a stream or spray of clean water.
- Two sinks: Use the second sink or a separate pan for a clean-water rinse.
Both rinsing methods are covered in the Cleaning Institute’s guide. If removing the soap takes a long time, check whether you are using more detergent than the label calls for.
5. Dry, then tidy the washing area
Air-drying saves the towel-drying step. Place rinsed dishes in a clean drying rack. If you need them immediately, use a clean towel and change it once it becomes damp; the Cleaning Institute supports either drying method.
Finish by rinsing and wiping the sink, dishpan and drainer. Leave the washing cloth or sponge out to air-dry rather than sitting in the dirty water.